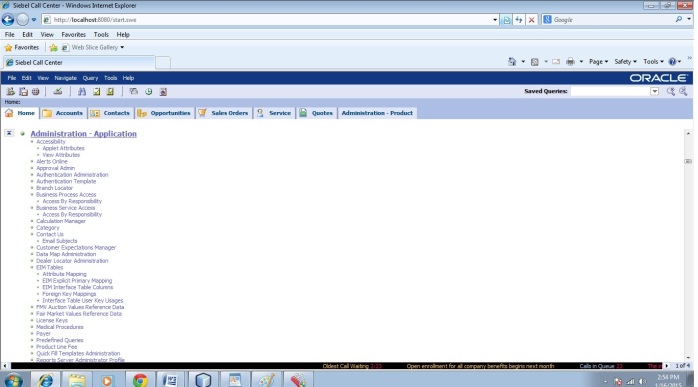
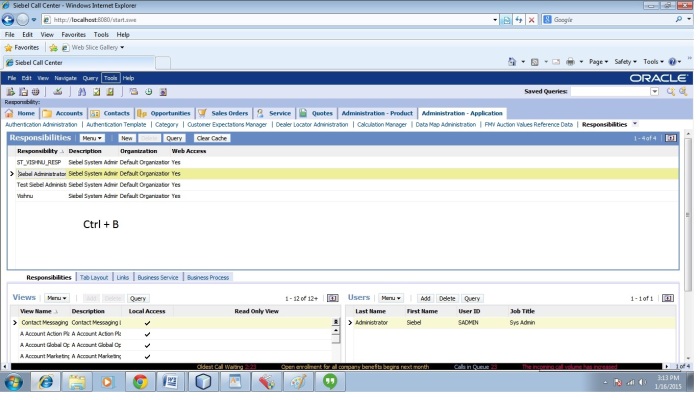
- Navigate to “Administration – Communications -> Communication Profiles & Drivers” view.
- Query for “Internet SMTP/POP3 Server” under Communications Drivers applet.
- Create a new Profile. Lets say “Test Email Profile”.
- Under Profile Parameter Overrides applet, add the following parameters :
==> From Address : Any Email Address (Generally it should be Siebel Email boxId )
==>SMTP Account Name: Put give account name.
==>SMTP Account Password: Put given Password.
==> SMTP Server : Name of the SMTP Server which will send the email.
==> SMTP Server Port : 25
- Click on “Menu” button on “Profiles” applet and click on “Submit Profile Changes”.
- Uptill this point you are ready to use this communication profile but before this need to check whether Server Component, responsible for executing the email request are running properly or not. So continue with the next step.
- Navigate to “Administration-Server Configuration -> Enterprises -> Component Groups” and query for “Communications Management” under component groups applet and then query for “Communications Outbound Manager” component under “Components” applet. This is the component which is responsible for sending outgoing emails from Siebel.
- Check if “Enabled on Server” flag is checked under “Component Group Assignments” applet. If not click on “Enable” button.
- Navigate to “Administration-Server Configuration -> Enterprises -> Component Definitions” and query for “Communications Outbound Manager”.
- Set the following two parameters to “Test Email Profile” (Communication profile created in Step# 3)
==> Comm Profile Override == Test Email Profile
==> Communication Profile == Test Email Profile - Click on “Synchronize” button.
- Now restart the Siebel server.
- Navigate to Tools -> User Preferences -> Outbound Communications view and select “Siebel Email Client” in Email Client. Click on Save.
And you are done with the profile creation and hopefully it should work fine. Lets test it out.
Navigate to Service Request Screen -> My Service Requests view, Click F9 and system will give you the Popup form to send an email. Put your email address in “To” section and fill in the subject and body as per your wish and send it.
Check your Inbox, you will see the email in few minutes. Also drilldown on SR# field and navigate to “Activities” view, you will an activity of type “Email – Outbound” and the contents of the email in Comments field. This is Siebel OOB functionality of creating activity under Service Request whenever you send an email from Service Request record.
Troubleshooting :
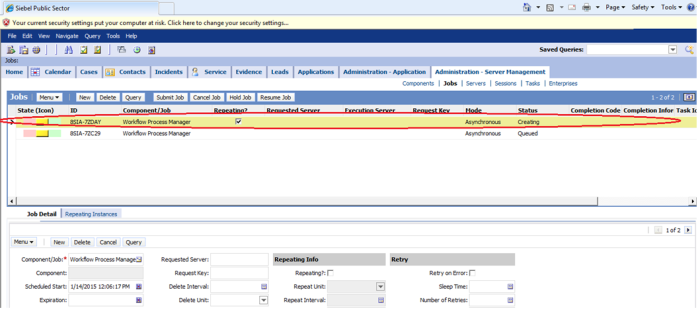
Let me tell you about the error which is most likely to occur while sending emails from Siebel once you have setup a new Communication Profile. What happens is you followed above steps and still not received any email. Go to “Administration-Management” Drilldown on Component “Communications Oubound Manager” and check the log. You may see the error : “Client does not have permission to submit mail to this server“.
This error most likely occur when there exist a firewall between your Siebel server and SMTP server, so what happens is Siebel Server is not able to create any email request on the SMTP server. Just talk to your network administrator and get the name of SMTP server without any firewall. It will work.


